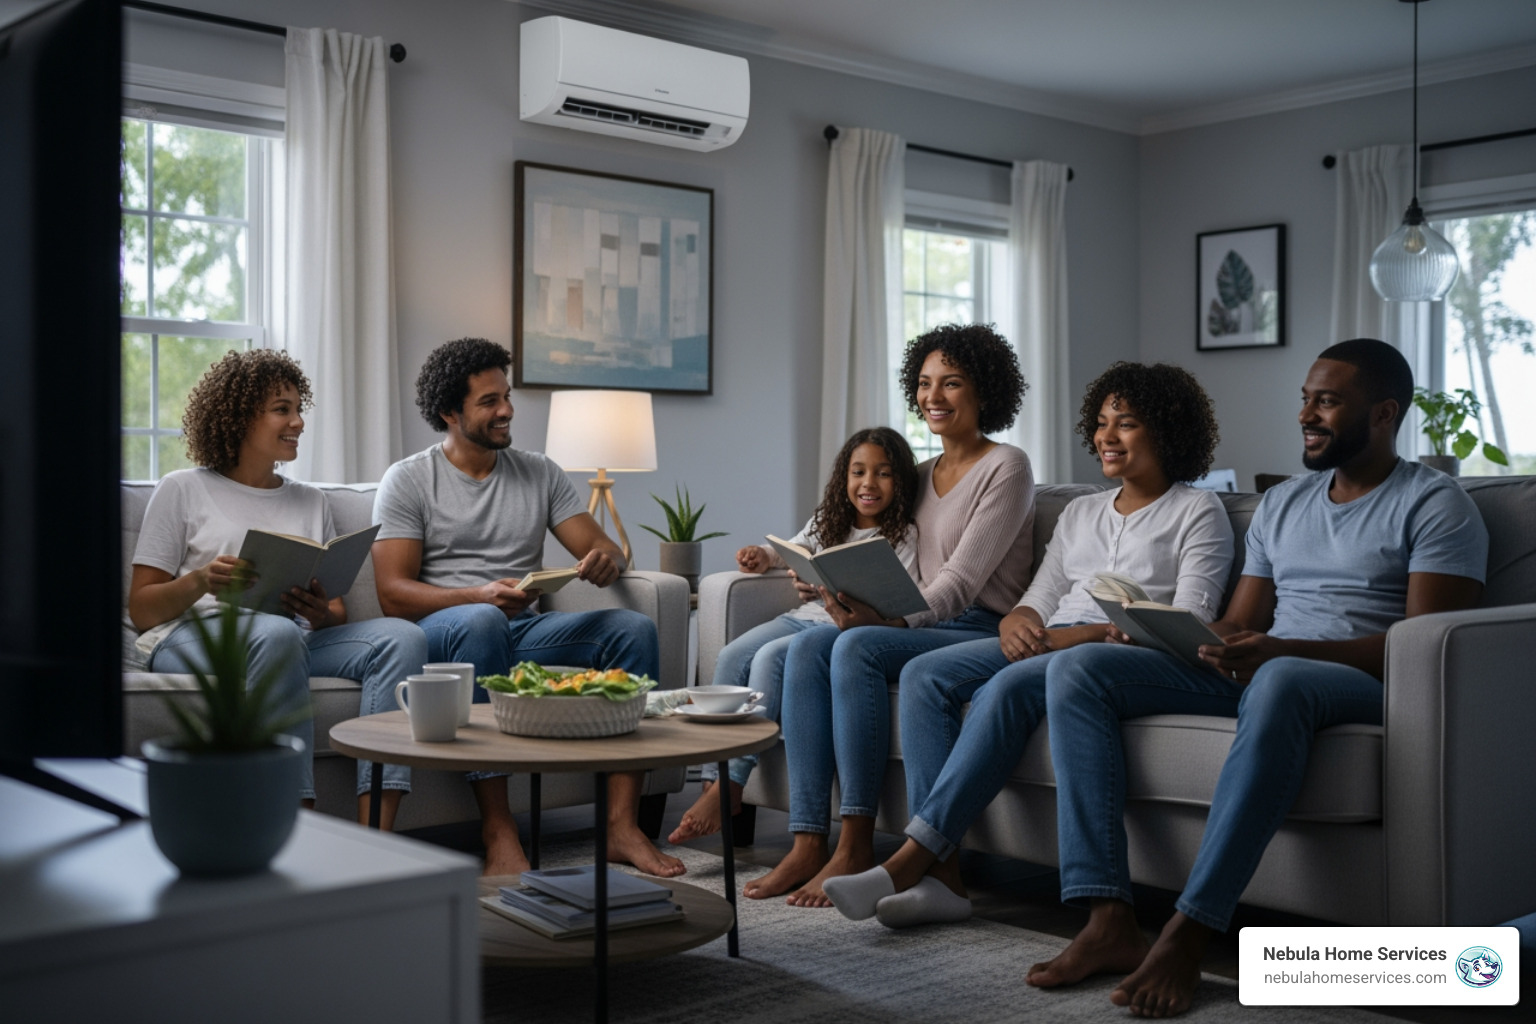
New AC Installation in Winter Haven
Florida Sun Doesn’t Stand A Chance
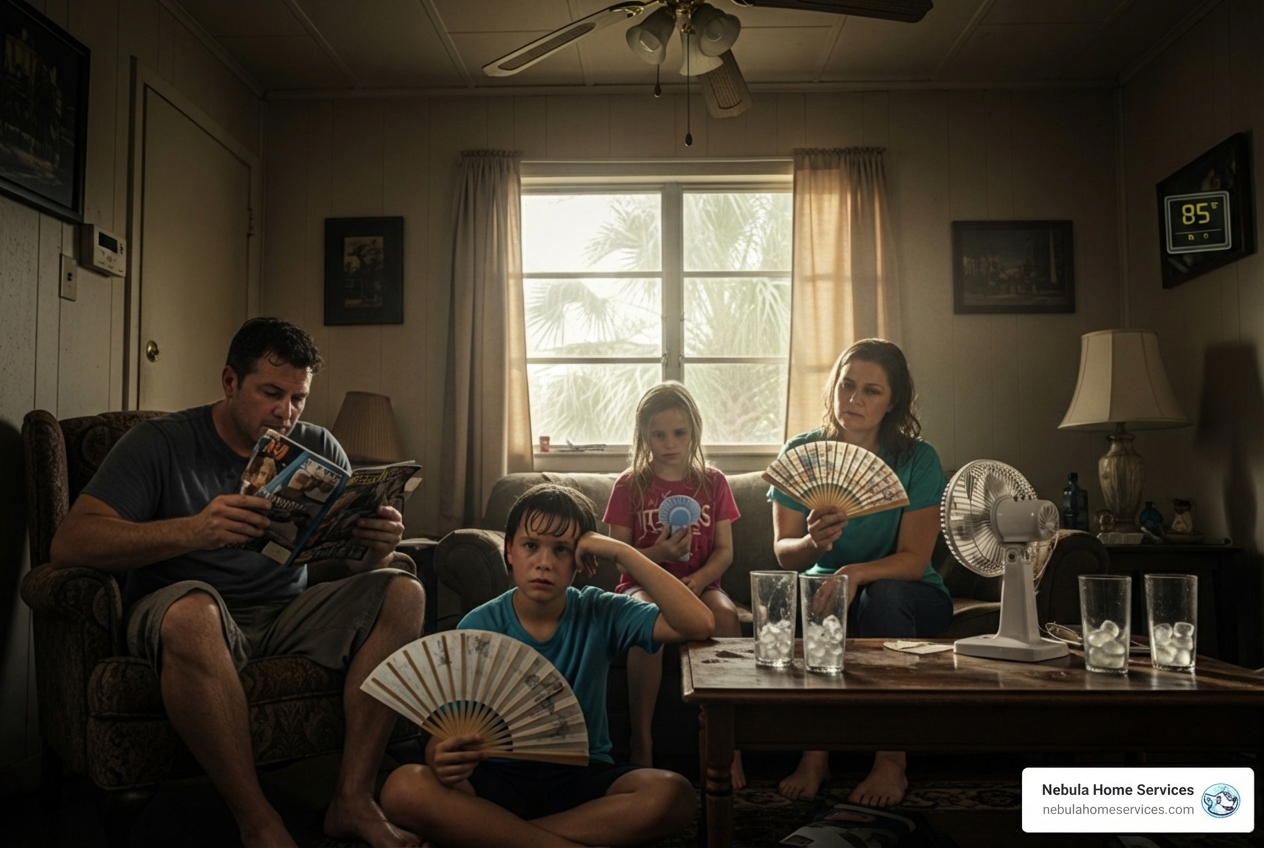
When you’re replacing an undersized or oversized system, facing constant repairs, or paying too much for too little comfort, you shouldn’t have to “wait and see” while costs and downtime climb in Central Florida. Backed by a 5-star Google rating, an A+ BBB reputation, and a 100% satisfaction guarantee, Nebula Heating and Air conducts a targeted inspection, eliminates the problem, and helps keep the issue from coming back. AC installation isn’t a ‘someday’ issue; it’s a right-now threat—our rapid-response team moves fast to contain and eliminate it today.
-
 Installing Industry Leading Models
 -
Energy Conscious Products
-
Quick Turnaround Times


Get In Touch!
AC Installation Services in Florida
Not sure where to start? We’ve got your back. We take pride in installing high-quality products from leading manufacturers like Carrier, Goodman, and Trane to deliver premium results for our clients. These trusted brands are known for their reliability, energy efficiency, and durability, making them ideal for Florida’s demanding climate. Our expert technicians ensure that each system is installed with precision and attention to detail, maximizing performance and longevity for your home’s cooling needs.
What to Expect During Installation
For a standard air handler and condenser setup, installation typically takes 4 to 6 hours. More complex systems or jobs requiring ductwork may stretch to 8 to 10 hours, and if full duct replacement is needed, it can take several days. Fortunately, most homes don’t require major ductwork changes, keeping installation time and cost manageable.
Before the installation, technicians will assess your home’s existing system, inspect ductwork, and determine if any electrical or airflow adjustments are needed. Once the new system is installed, they’ll test for proper function, ensure all connections are sealed, and verify that refrigerant levels are within specifications.
HVAC Installation Costs: What Goes Into an Estimate
The cost of a new HVAC system varies based on several key factors:
- System Type: A standard central AC installation in Florida usually ranges from $6,500 to $10,000, while high-efficiency systems can reach $20,000 to $24,000. Heat pumps, which provide both heating and cooling, start at around $6,400.
- Ductwork Adjustments: If your home’s ductwork is old or leaking, replacing or repairing it during installation can add to the total cost—but it’s worth it for long-term efficiency.
- Custom Features: Smart thermostats, air purifiers, and upgraded filtration systems can enhance comfort and air quality, though they’ll also increase the upfront cost.
When comparing estimates, make sure each includes all necessary components: unit cost, labor, permits, and materials, so you’re evaluating apples to apples.

Our Process
The Nebula Heating and Air: Furnace & AC Repair Way
“We want the best solution for you!"
Johnny Skerett -
Owner & CEO

Reach Out Today
Fill out our contact forms and tell us a bit about your issue. Our customer service team will review your request and get back to you ASAP.
Schedule
Book a convenient appointment, and our team will confirm with a call or text before we arrive, so you’re always in the loop.
Perform Diagnostic
Our expert technicians will thoroughly inspect your system, identify any issues, and explain the problem in clear, simple terms.
Solutions
We walk you through repair and replacement options so you can make the best decision—no high-pressure sales, just honest guidance.
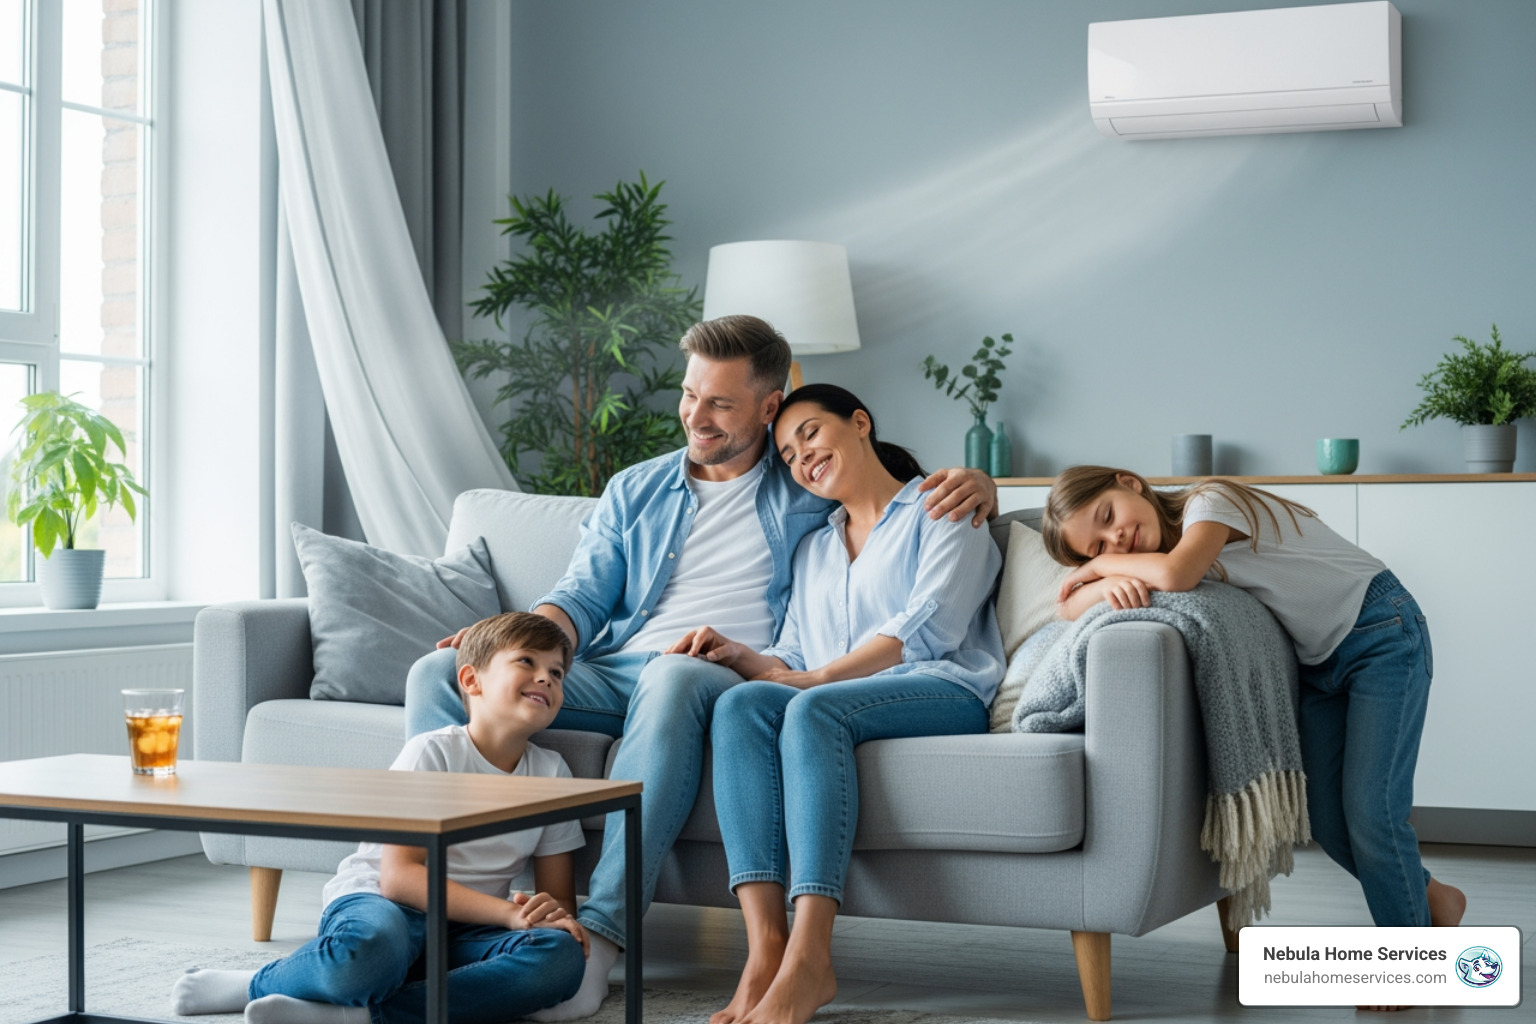
Air Conditioning Installation
When you choose us for your cooling needs, your purchase is always backed by comprehensive warranties for added peace of mind. We stand by the quality of our products and workmanship, ensuring your investment is protected. Additionally, we offer ongoing maintenance support to keep your system running efficiently year-round. Our team is dedicated to providing reliable service to help you get the most out of your cooling system for years to come.
Understanding the HVAC Installation Process
Installing a new HVAC system is a major decision for any homeowner. Whether you’re replacing an outdated air conditioner or upgrading to a more efficient system, understanding what goes into the process can help you make confident choices and avoid unnecessary surprises.
When you request an HVAC installation estimate, the total cost includes several important components:
- The System Itself: The type of system you choose—air conditioner, heat pump, or furnace—will have the biggest impact on cost. Higher-efficiency systems are more expensive upfront but can significantly lower your monthly energy bills.
- Labor Costs: Labor makes up a large part of your estimate. Complex installations, such as those requiring new ductwork, naturally take longer and cost more.
- Permits and Inspections: In Florida, most installations require permits and city inspections. These ensure the job meets local safety and efficiency standards.
Additional Materials: Wiring, pads, refrigerant, and ducting adjustments are common line items in most HVAC quotes.
Choosing the Right System for Your Home
The right HVAC system depends on your home’s size, layout, and energy goals.
- For Larger Homes: Consider higher-capacity systems or dual-stage compressors for even cooling throughout the space.
- For Smaller Homes: A smaller unit or ductless mini-split may be more cost-effective.
- Energy Efficiency: Always look for ENERGY STAR-rated systems. Though more expensive initially, they save you money over time through lower utility bills.
A professional technician will evaluate your home’s square footage, insulation, and exposure to sunlight before recommending the best system.
Real Customer Stories: Recent HVAC Installations in Florida
AC Installation in a Large Home
One recent project involved replacing an outdated air conditioner in a 3,000-square-foot home that struggled to stay cool during the summer. After assessing the space, we installed a high-efficiency central AC system that provided stronger airflow and better temperature control. The total cost came to about $9,500, which included the unit, labor, permits, and materials. The homeowners immediately noticed lower energy bills and more consistent comfort throughout their home.
Positive Feedback from a Winter Haven Homeowner
Another installation in Winter Haven involved helping a customer upgrade to a more energy-efficient system. Initially worried about costs, they appreciated that we took time to explain each option and its long-term benefits. Once installed, they were thrilled with the improved cooling performance and how much more affordable their monthly utility bills became. Their satisfaction reinforced the value of choosing an energy-efficient unit that’s properly installed and maintained.
Your HVAC system is one of the most important investments you can make in your home. A quality installation ensures long-term comfort, energy efficiency, and peace of mind—especially in Florida’s hot, humid climate.
When choosing a professional installer:
- Always get a detailed written estimate outlining all costs.
- Verify licensing and insurance.
- Ask about maintenance plans and warranty coverage.
Proper installation doesn’t just improve comfort; it ensures your system operates efficiently for years to come.

Reviews
5-Star Results Across The Galaxy

Tremendous company, very good service. A company we can trust.

Susano O

Excellent service, professional, responsible, immediate work, 100% recommended.

Neisha L
Excellent company and work team. Serious and very responsible people. They did a good job for me. I recommend them 100%

Camille S
Excellent service, the technicians were very well presented, very professional, they solved the problem very quickly and my air is perfect.

Henry T
Johnny is very responsive to each work order we sent to Nebula. Highly recommended!!

Crystalline R
Excellent service and professional. I recommended 100%.

Carmen G
Very professional very nice responsible I 100% recommend them as well as the guy that came and fix my air. If you ever need to get your AC fixed these nebula air…

Maribel A
Johnny was quick to respond, thorough, and professional. I'll definitely make them my first call whenever there's a need!

Jim O
Johnny and Jostyn are the best !!! Great service , great prices, good hospitality and they went beyond my expectations. Very humble people . Thank you for everything. God bless them.

Sharleen F
Service areas
Serving Central Florida
We take immense pride in being a local Florida business, dedicated to serving residents across the Sunshine State. Florida is more than just where we work—it’s our home, and we are committed to providing our neighbors with reliable, high-quality HVAC solutions tailored to the unique needs of our region.
-
Winter Haven
-
Haines City
-
Lake Wales
-
Lake Alfred
-
Dundee
-
Auburndale
-
Lakeland
-
Davenport
-
Poinciana
FAQs
Your HVAC Questions, Answered!
What size AC unit do I need for my home?
The size of the AC unit depends on factors like the square footage of your home, insulation, and climate. Our professionals will conduct a thorough assessment to recommend the ideal system for your specific needs.
Will my new AC system come with a warranty?
Yes, all of our AC systems come with comprehensive warranties. These cover both the unit and the installation, giving you peace of mind and protection for your investment.
Can you install an energy-efficient AC system?
Absolutely! We specialize in high-efficiency AC systems designed to save energy and reduce utility bills. We’ll help you choose a system that meets your efficiency goals.
Recent Articles
The Nebula Blog